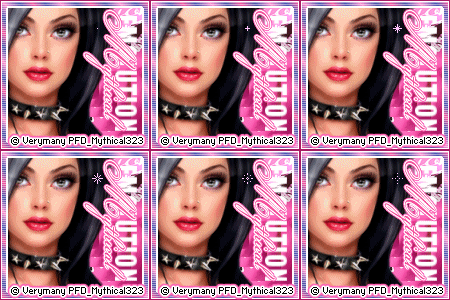
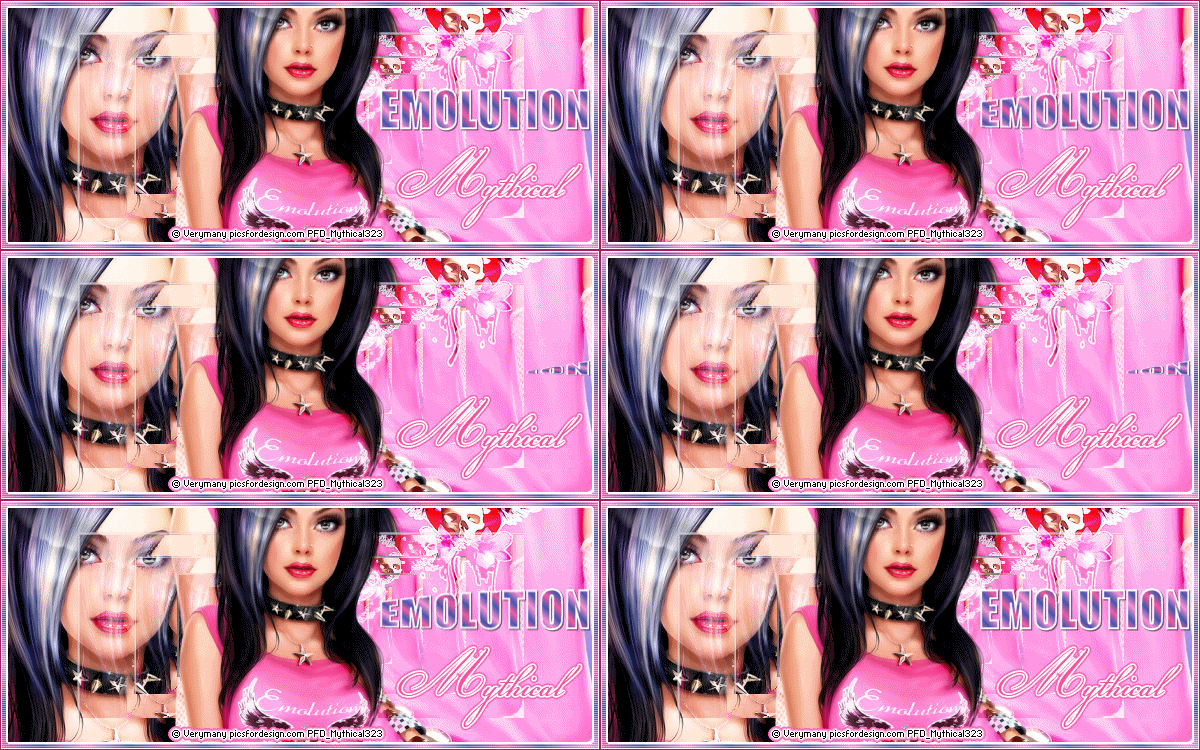
For this tutorial you will need:
A tube of choice i am using the fab art of verymany
to use this tube you will need to purchase it from Pics For Design here
to use this tube you will need to purchase it from Pics For Design here
My Gradient here
Put the EmoGrad_Myth Gradient into your gradients folder
1.
Open a blank canvas 600 x 250
floodfill with the EmoGrad_Myth gradient,Style Linear angle 45%, Repeats 0, colourize if needed.
2.
Copy and paste you tube 3 time, arrange as shown in the screen shot below,
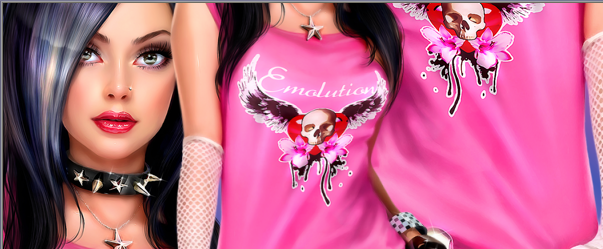
select the crop tool and snap crop rectangle to merged opaque, duplicate this layer, one the duplicate layer go to effects, Reflection Effects, Feedback and add the following settings
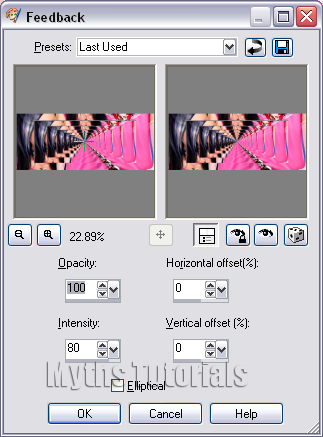
Change the blend mode of this layer to Screen.
3.
Copy and paste your tube as a new layer resize and arrange to your liking.
4.
Activate the text tool, change the background colour in the materials palette to the EmoGrad, we used earlier but change the repeats to 4, set the foreground to white, select a think font, I used Impact size 36,stroke 2, Type out Emolution or a word of your choice, right click the layer, convert to raster layer, add the following Drop Shadow H & V 1, Opacity 60, Blur 1, colour Black, rename this layer Ani(only if you are going to animate)
5.
Activate the bottom layer, selections, select all, Selection modify contract by 8 pixels, selections invert, add a new raster layer, right click the layer, arrange, send to top, flood fill with White, go to selection, modify and contact by 2, add a new raster layer and floodfill with the Gradient we used earlier, same settings, Go to Effects, Texture effects, Blinds, add the following settings
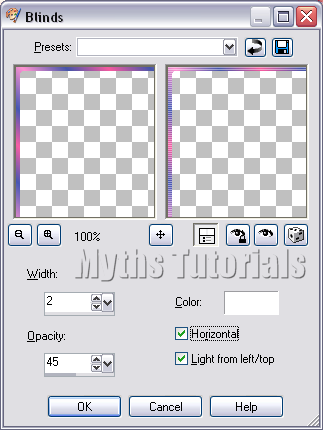
6.
Add a new layer, Flood fill with #a71c65 or a colour of your choice, go to selections, select all, selections, modify, contract by 1 pixel, hit delete on your keyboard, selections, select none.
7.
Add your name and copyright information, if you are not animating you are done!
Animation
1.
Hide everything except the layer we renamed Ani, go to edit, copy merged.
2.
Open Animation Shop(AS) go to edit, paste as a new animation, go to Effects, Insert image Transition, use the following settings, Delete frames 19, 20, 21 & 22.
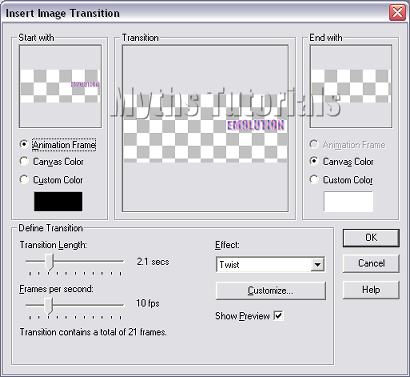
3.
Back Paint Shop(PS) Unhide everything below the Ani layer, then hide the Ani layer, go to edit, copy merged, Back to AS, Paste as new animation, duplicate the frames until you have 18 in total (Ctrl + L)
4.
Go to edit Select all, Edit copy, edit paste as new animation, Edit select all then go to Animation, reverse frames, edit copy, then back to the original make layer 18 active by clicking on it, edit paste after current frame, you should have a total of 36 frames now.
5. back to PS, Hide every below the Ani Layer and unhide everything above the Ani layer, go to Edit copy merged then back to AS, paste as a new animation duplicate as before but for a total of 36 frames this time, Edit select all, on the original tag edit select all, then edit paste into selected frame
You are done!
Avatar
Open a canvas 150 x 150,
1.
Follow steps 1 & 3 from above, but I chose to use the pic on her t shirt for this, apply the Feedback filter same settings as before,
2.
Select your font tool, impact size 18, foreground colour null, background colour white, type out EMOLUTION, Convert to raster layer, go to image, rotate, free rotate by 90 degrees right, move to the right of the canvas.
3. repeat step 3 again, then steps 5, 6 & 7.
For the Twinkle I used Twinks from jalJax Designs Herehttp://www.jaljaxdesigns.com/Twinks.htm
Proud member of Tutorial Writers Inc
Tutorial written by © Mythical
all rights reserved

No comments:
Post a Comment