
![]()
For this tutorial you will need:
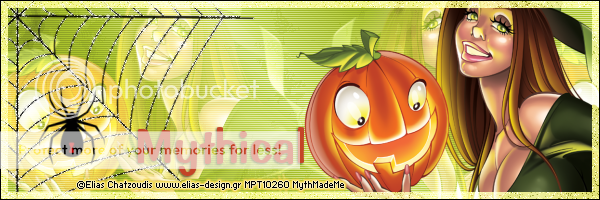
A tube of choice I am using the art of Elias Chatzoudis
to use this tube you will need to purchase it from My PSP Tubes here
My supplies here (these supplies are made by me, use them as you wish)
Font used Impress BT, you can get it here
1.
Open a blank canvas 600 x 600 flood fill with white,
Copy and paste the texture as a new layer, recolour to your liking
2.
Go to Effects, Texture effects, blinds change the colour to a prominent colour from your tube and apply with the following settings
Width – 2
Opacity – 24
Both Horizontal & Light from left/Top checked, Change the name of this layer to bg.
3.
Copy and paste your tube of choice as a new layer 2 or 3 times depending on the size of the tube, aim to fill most f the canvas, arrange to your liking, activate the top copy, go to layers, merge, merge down, activate the crop tool, snap crop rectangle to – merged opaque, change the blend mode of this layer to screen or soft light which ever look better.
4.
Copy and paste your tube as a new layer, arrange to your liking, activate the crop tool, snap crop rectangle to – merged opaque.
5.
Copy and paste the web as a new layer, position to the left top corner as desired.
Copy and paste the spider as a new layer, arrange on the web as desired.
6.
Add a new layer, go to selections, select all, selections, modify and contract by 8 pixels, selection, invert flood fill with a light colour from your tube, go to adjust, add and remove noise, add noise, 25%, random checked, monochrome checked, selections, select none.
7.
Add a new raster layer, flood fill with black, go to selections, select all, modify and contract by 1 pixel, then hit delete on your keyboard, selections, select none.
8.
Add your name & Copyright information
Avatar
1.
Open a blank canvas 150 x150 flood fill with white.
2.
Copy and paste the bg from the signature tag, arrange to your liking, activate the crop tool, snap crop rectangle to – merged opaque.
3.
Copy and paste your tube of choice as a new layer, arrange to your liking, activate the crop tool, snap crop rectangle to – merged opaque.
4.
copy steps 6, 7 and 8 above.
Your done!
No comments:
Post a Comment