
For this tutorial you will need:
Tube of choice I am using the art of Lady Mishka to use this tube
you will need to purchase it from Scraps and the City here
Missy's beautiful Animations here
Supplies here
Filters Used:
Tramages Wire Mesh
VM Extravaganza, Transmission
Penta Color Dot
Banner
1.
Open a blank canvas 600 x 250, flood fill with a gradient of choice, Style Linear, angle 45, repeats 1
2.
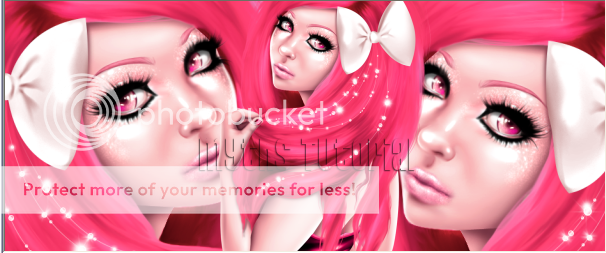
Copy and paste your close up and tube, arrange as shown below
3.
Copy and paste the texture from the supplies, colourize if needed, change the blend mode of this layer to Screen, Go to effects, Plugins, Tramages, Wire Mesh and use the following settings,
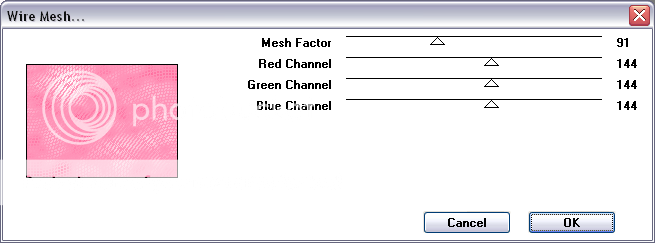
right click on the top layer, merge, merge visible.
4.
Activate the Font tool select a thick font I used Pussycat size 55, Background colour white, foreground colour null, type out the words you want I typed out Beautiful Emo, add a drop shadow H 1, V -1, Opacity 33, blur 3, color black, move to the lower right hand corner of the canvas.
5.
Copy and paste the rectangle as a new layer, colourize to compliment your tube and move to the left hand side of the canvas, go to Effects, plugins, VM Extravaganza, Transmission, use default settings
6.
Activate the font tool again choose Impact from the dropdown menu size 88, Background white, foreground null, I typed out EMO, go to Image, Rotate, Free rotate and rotate by 90 degrees left, move the word on top of the rectangle, change the blend mode of this layer to Soft Light, change your font to a script font I used carpenter script Size 38 and typed out Beautiful, rotate by 90degrees left and move on top of the other word, add the same drop shadow used earlier.
7.
Copy and paste your tube of choice as a new layer, arrange to your liking slightly to the right next to the rectangle, duplicate the tube on the duplicate layer go to Adjust, Blur, Average , set to 11, change the blend mode of this layer to Soft Light.
8.
Make the bottom layer active, Selections, Select All, Modify, Contract by 8 Pixels, selections, invert, add a new raster layer right click, arrange bring to top, flood fill with white, Selections, Invert, Selections Modify Expand by 2, selections invert, add a new raster layer flood fill with your gradient of choice, Linear, Angle 45, repeats 3, Go to Effects, Plugins, Penta Color Dot and use default settings, Go back to selections, select none, Add a new raster layer , flood fill with a dark colour that compliments your tube, select all, modify, contract by 2 pixels, hit delete on your keyboard, selections, select none.
9.
Add you name and copyright information, if you are not animating you are done!
Animation
1.
Hide all the layers except for the merged layer on the bottom, go to edit, copy merged, Open up Animation shop(AS), go to Edit, paste as new animation hold the Ctrl key down and hit L 12 times you should have 13 frames now
2.
Open the sparklecircleblast in AS, go to edit select all, then edit copy, then on your banner, edit select all, edit paste into selected frame ( I placed it centre & slightly to the left).
3.
Go back to Paint Shop(PS) Hide the merged layer and unhide the other layers, go to edit, copy merged back AS Paste as a new animation, again hold the Ctrl key down and hit L 12 for a total of 13 frames,
4.
Go to edit, select all, edit copy, then onto your banner, edit select all, edit paste into selected frame
Proud member of Tutorial Writers Inc
Tutorial written by © Mythical
all rights reserved
No comments:
Post a Comment