
For this tutorial you will need a tubes of choice.
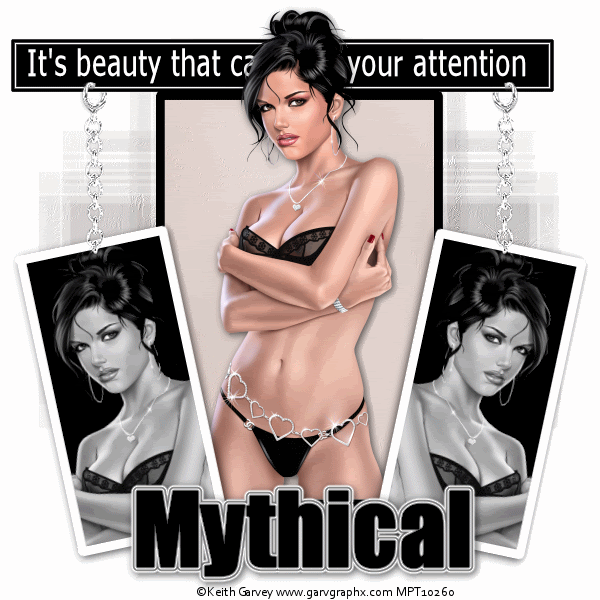
I am using the art work of Keith Garvey to use this tube you will need to
purchase it from from PSP Tubes Emporium here
WSL_Mask149 by Chelle you can download at her site Here
Click navagate and the masks are under downloads
Open a blank canvas 600 x 600, flood fill with white.
Copy and paste the dark
paper as a new layer. Apply the WSL mask149, right click the mask layer, merge,
merge group.
Copy and paste the frame as a new layer. Activate the magic wand feather 1, tolerance 0 and click inside the frame
Copy and paste the paper onto the canvas. Go to selections, invert then hit delete on your keyboard,
go to adjust, hue and saturation, colourize then colourize the paper to match the tube you are using. Do not deselect.
Copy and paste your tube of choice on the canvas, move in the desired position then activate the eraser tool and erase any part of the tube showing below the frame. Add a drop shadow to your tube I used H&V 0, opacity 65, blur 12, colour black. Now add a drop shadow to the frame, I used H&V 0, opacity 45, blur 8, colour black for all 3 frames.
Copy and paste the small frame onto the canvas with the magic wand same settings as before, click in the centre of the small frame copy and paste your tube on top, move into position, selections, invert and hit delete on your keyboard, change the tube layer blend mode to luminance legacy, right click the top tube layer, merge and merge down. Move to the left hand side of the frame (see my tag for reference) add a drop shadow.
Go to Image, rotate, free rotate and rotate by 12 degrees left make sure all layers and rotate single layer around canvas centre are both unchecked. Duplicate this layer, got to image and click mirror.
Activate the frame layer, copy and paste the Top Bar as a new layer, move it to the top of the frame. Open the chain from the supplies copy and paste as a new layer on to the canvas hang the chain from the bar and erase the over hanging bits so it looks like the small frame is hanging on it. (See my tag for reference) duplicate the layer, go to Image and mirror.
Activate the top layer, select the text tool font impact, size 75, create as vector, stroke 2.0, set the foreground colour white background colour black, type out your name, right click layer and convert to raster layer.
Add a Gradient Glow with the following settings: colour Fat, change the foreground colour to black, glow width 3, soft corners 25% overall opacity 100%, draw only outside selection selected, apply twice, add the same drop shadow used for the tube.
Add copyright and watermark if you don’t want to animate you are done!
Animation
Go to Layers, Merge, Merge visible. Duplicate the image twice for a total of three frames. Rename the layer 1, 2 & 3
Open the sparkle activate layer 1 copy and paste the sparkle where desired on the layer and repeat this 3 or 4 times in different places.
Repeat the above steps on layers 2 & 3, X out the bottom layers 2 & 3
Open Animation shop
In Paint Shop go to edit, copy merged.
Over to Animation shop and go to edit paste as new animation Back to paint Shop x out layer 1 and un-x layer 2, go to edit, copy merged.
Back to Animation Shop, go to edit and paste after current layer. Back to paint Shop x out layer 2 and un-x layer 3, go to edit, copy merged.
Back to Animation Shop, go to edit and paste after current layer
Save your tag. You are done!
Proud member of Tutorial Writers Inc
Tutorial written by © Mythical
all rights reserved
No comments:
Post a Comment