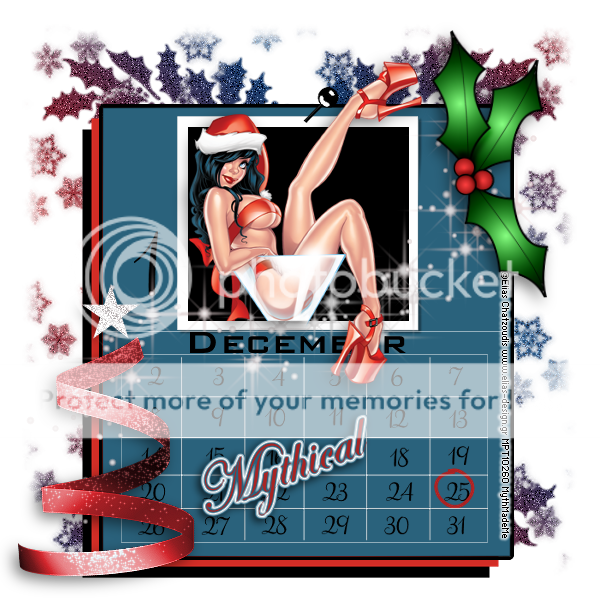
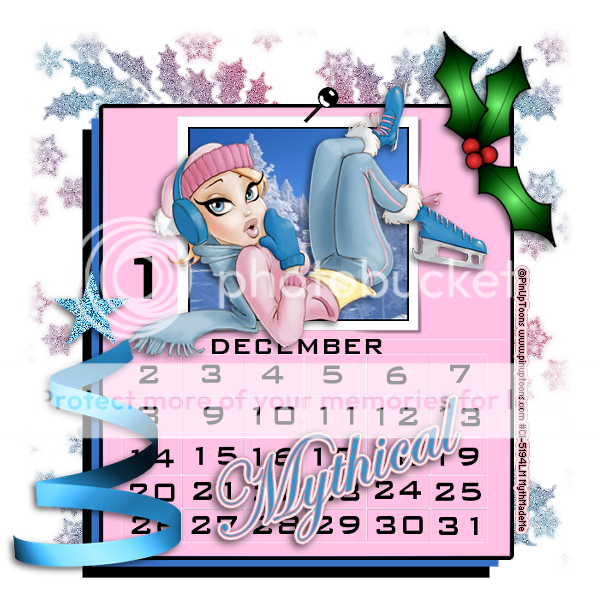
For this tutorial you will need:
Tube of choice I have used the art of Elias Chatzoudis,
you can purchase the tube here at My PSP Tubes
Calendar Template by Ladyhawwk which can be found on Creative Misfits Creations Blog Here
Supplies Here (I have made all the supplies. feel free to use as you wish)Drop shadow used throughout H 3, V -3, Opacity 66, Blur 12, colour Black
1.
Open the template in Paint Shop
Delete Raster layer 2,
2.
Select the font tool, type 1 and arrange it next to the tube make sure it is pretty big,
Then type 2 etc all the way to 31 in the squares, then right click the layer and convert to raster layer, then type out December and arrange beneath the photo frame
3.
Activate the LHDPhotoFrame layer, Copy and paste your tube of choice, resize and arrange to your liking add a drop shadow.
4.
If there are bits you want to erase, make the LHDPhotoframe active again, click inside the black area with the magic wand, go to selections, invert, now make your tube layer active and erase the parts you want hidden, selections, select none
5.
Click on raster layer 1, add anew raster layer, change the foreground & background colours to 2 quite different colours from your tube, go to gradients and choose foreground/background gradient, angle 45, Repeats 5, flood fill the layer,
6.
Open the mask supplied & minimize, go to layers, new mask layer, from image, find Myth_Msk2 , apply, right click the mask layer, merge, merge group
7.
Activate LHDFrongLargeSquare layer go to Adjust colour balance, manual colour corrections, change the source colour to #808080 and the target to a colour that compliments your tube, repeat this for the LHDLargeMiddleBackSquare layer but change the source colour to #c0c0c0 & LHDLargeBackSquare Layer but change the source colour to #000000
8.
Copy and paste one of the xmas trees as a new layer, move to the bottom left of the calendar, recolor to your liking add a drop shadow.
9.
Copy and paste one of the holly tubes as a new layer, go to image, resize, resize by 50% , smart size, resize all layers unchecked. Then go to image, rotate, free rotate, rotate by 80 degrees right, move to the top right of the calender, all layers unchecked add a drop shadow.
Resize. Add your name & copyright information. You are done!
Proud member of Tutorial Writers Inc
Tutorial written by © Mythicalall rights reserved

Wednesday, 10 February 2021
Month of December
Subscribe to:
Post Comments (Atom)
No comments:
Post a Comment